

How to Crochet a Hat: Easy Guide for Beginners
To crochet a hat, follow these steps: choose your yarn and hook, make a slip knot, crochet a chain, join the chain, crochet in the round, and finish off. Crocheting a hat is a fun and creative project that allows you to showcase your crochet skills while also creating a practical and stylish accessory.
Whether you’re a beginner or an experienced crocheter, this guide will provide you with the necessary steps to successfully crochet a hat. By following these instructions, you’ll be able to create a hat that fits your style and keeps you warm during the colder months.
So grab your yarn and hook, and let’s get started on crocheting a hat!
Introduction To Crochet
Learn the art of crochet and create your own stylish hat. Start by selecting your favorite yarn and a suitable hook size. Follow a simple pattern to create a beautiful and cozy hat. With a few basic stitches, you can crochet a hat that’s perfect for any season.
Crochet is a popular handicraft that involves using a hook and yarn to create beautiful designs, patterns, and textures. It is a relaxing and therapeutic activity that can be enjoyed by people of all ages and skill levels. In this guide, we will take you through the basics of crocheting a hat, starting with a brief history of crochet and the benefits of learning this craft.
Brief History Of Crochet
Crochet has been around for centuries and has its origins in many different cultures, including China, Arabia, and South America. The word “crochet” comes from the French word “croche,” which means “hook.” In the 16th century, crochet began to be used as a way to create decorative edgings on clothing and household items. By the 19th century, crochet had become a popular pastime for women in Europe and America, and patterns were being published in newspapers and magazines.
Benefits Of Learning To Crochet
Learning to crochet has many benefits, including improving hand-eye coordination, reducing stress and anxiety, and boosting creativity. It is also a great way to make handmade gifts for friends and family, or to sell at craft fairs or online marketplaces. Crochet is a portable hobby that can be done almost anywhere, and it doesn’t require a lot of expensive equipment or supplies. Plus, it’s a fun and rewarding way to spend your free time! In conclusion, crocheting a hat is a great way to learn the basics of crochet and create something practical and beautiful. By following the steps outlined in this guide, you’ll be able to make a hat that you can wear with pride or give as a gift to someone special. So grab your hook and yarn, and let’s get started!
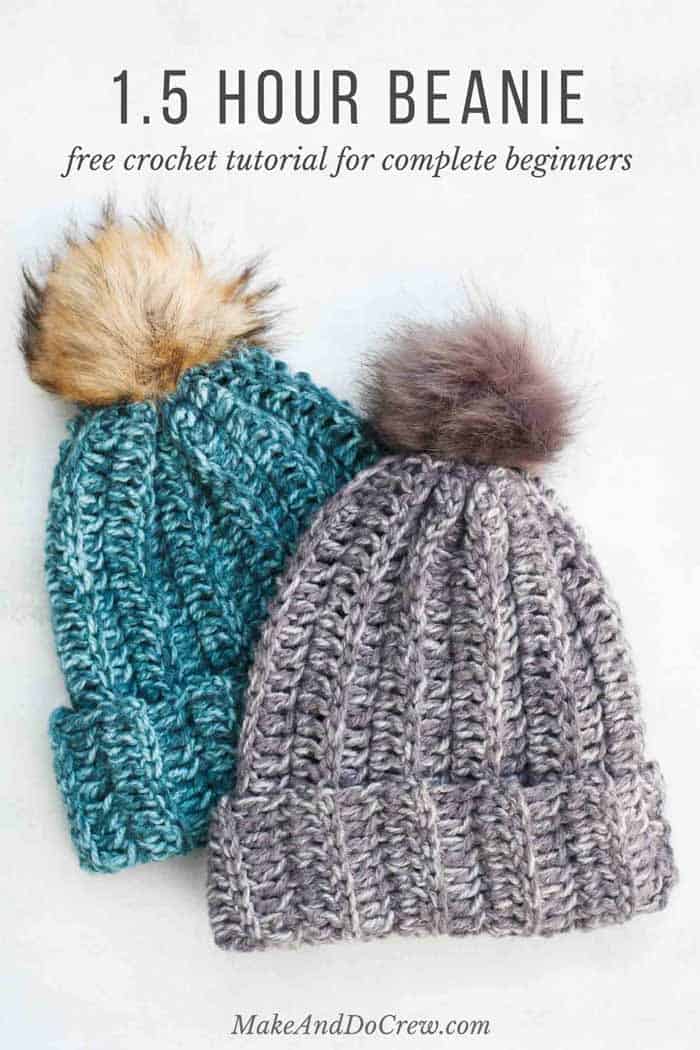
Credit: makeanddocrew.com
Materials Needed
When it comes to crocheting a hat, having the right materials is crucial. Let’s explore the essential items you’ll need.
Choosing The Right Yarn
Consider the weight, texture, and color of the yarn. Opt for soft, durable yarn suitable for hats.
Types Of Crochet Hooks
- Choose hooks in various sizes depending on the yarn weight.
- Ergonomic hooks can reduce hand fatigue during long projects.
Accessories And Additional Tools
- Stitch markers help keep track of rounds.
- Tapestry needles for weaving in ends neatly.
Basic Crochet Techniques
Learn the basic crochet techniques to create a stylish hat. Start with the foundation chain, master the single, double, and half-double stitches, and finish off with a slip stitch. With a little practice, you’ll be crocheting hats like a pro in no time.
Understanding Crochet Stitches
Before you start crocheting a hat, it’s important to understand the basic crochet stitches that you’ll be using. Crochet stitches are the building blocks of any crochet project, and by mastering a few key stitches, you’ll be well on your way to creating beautiful hats. The three most common crochet stitches used in hat making are:
- Chain Stitch (ch): This is the foundation stitch that creates the base chain for your hat. It’s a simple stitch that involves pulling yarn through a loop to create a chain.
- Single Crochet (sc): The single crochet stitch is one of the most basic stitches and is used to create a dense and sturdy fabric. It involves inserting the hook into a stitch, pulling yarn through, and then completing the stitch.
- Double Crochet (dc): The double crochet stitch is taller than the single crochet and creates a looser and more open fabric. It’s worked by wrapping the yarn around the hook, inserting it into a stitch, and pulling the yarn through.
By becoming familiar with these three stitches, you’ll be able to follow crochet patterns and create hats in various styles and designs.
Practice Makes Perfect: Simple Exercises
As with any new skill, practice is key to mastering crochet techniques. Here are a few simple exercises to help you improve your crochet skills:
- Practice your chain stitch: Start by creating a foundation chain of 20 stitches. Repeat this exercise until you can create a consistent and even chain without any gaps or twists.
- Single crochet sampler: Create a small swatch of single crochet stitches, experimenting with different tension and stitch height. This will help you develop control over your stitches and achieve a consistent fabric.
- Double crochet square: Crochet a square using double crochet stitches. Focus on maintaining an even tension and consistent stitch height throughout the project.
Remember, these exercises are meant to be fun and help you build confidence in your crochet skills. With regular practice, you’ll notice significant improvement and be ready to tackle more complex hat patterns.
Reading Crochet Patterns
Learn how to crochet a hat by understanding and reading crochet patterns. With concise instructions and clear diagrams, you can easily create a stylish and personalized hat for yourself or as a thoughtful gift.
Deciphering Symbols And Abbreviations
Crochet patterns can seem overwhelming, especially when trying to decipher the symbols and abbreviations used. The good news is that once you understand these, the pattern will become much easier to follow. The most common symbols you will come across include:
- Ch: chain
- Sc: single crochet
- Dc: double crochet
- Tr: treble crochet
- Sl st: slip stitch
It’s important to note that different patterns may use different symbols and abbreviations, so always check the pattern’s key before starting.
Tips For Following Patterns Accurately
Following a crochet pattern accurately can make all the difference in the outcome of your project. Here are some tips to help you stay on track:
- Read through the pattern before starting: Make sure you understand each step before beginning.
- Use stitch markers: Marking the beginning and end of a row can help you keep track of where you are in the pattern.
- Count your stitches: Counting your stitches at the end of each row can help you catch mistakes early on.
- Don’t be afraid to ask for help: If you’re unsure about a certain step, don’t hesitate to reach out to a fellow crocheter or an online community.
Starting Your Hat
Crocheting a hat can be a fun and rewarding project, whether you’re making it for yourself or as a gift for a loved one. To start your hat, you’ll need to create a solid foundation by first establishing the base. Let’s walk through the essential steps for beginning your crochet hat project.
Creating A Magic Circle
To begin your hat, start with a magic circle. This technique creates a tight and nearly invisible center for your project, providing a seamless and professional finish. Follow these simple steps to create a magic circle:
- Hold the tail end of the yarn in your palm and wrap the working end around your fingers.
- Insert the hook under the first strand, yarn over, and pull through to create a loop.
- Chain one to secure the loop, and then begin working your stitches into the circle.
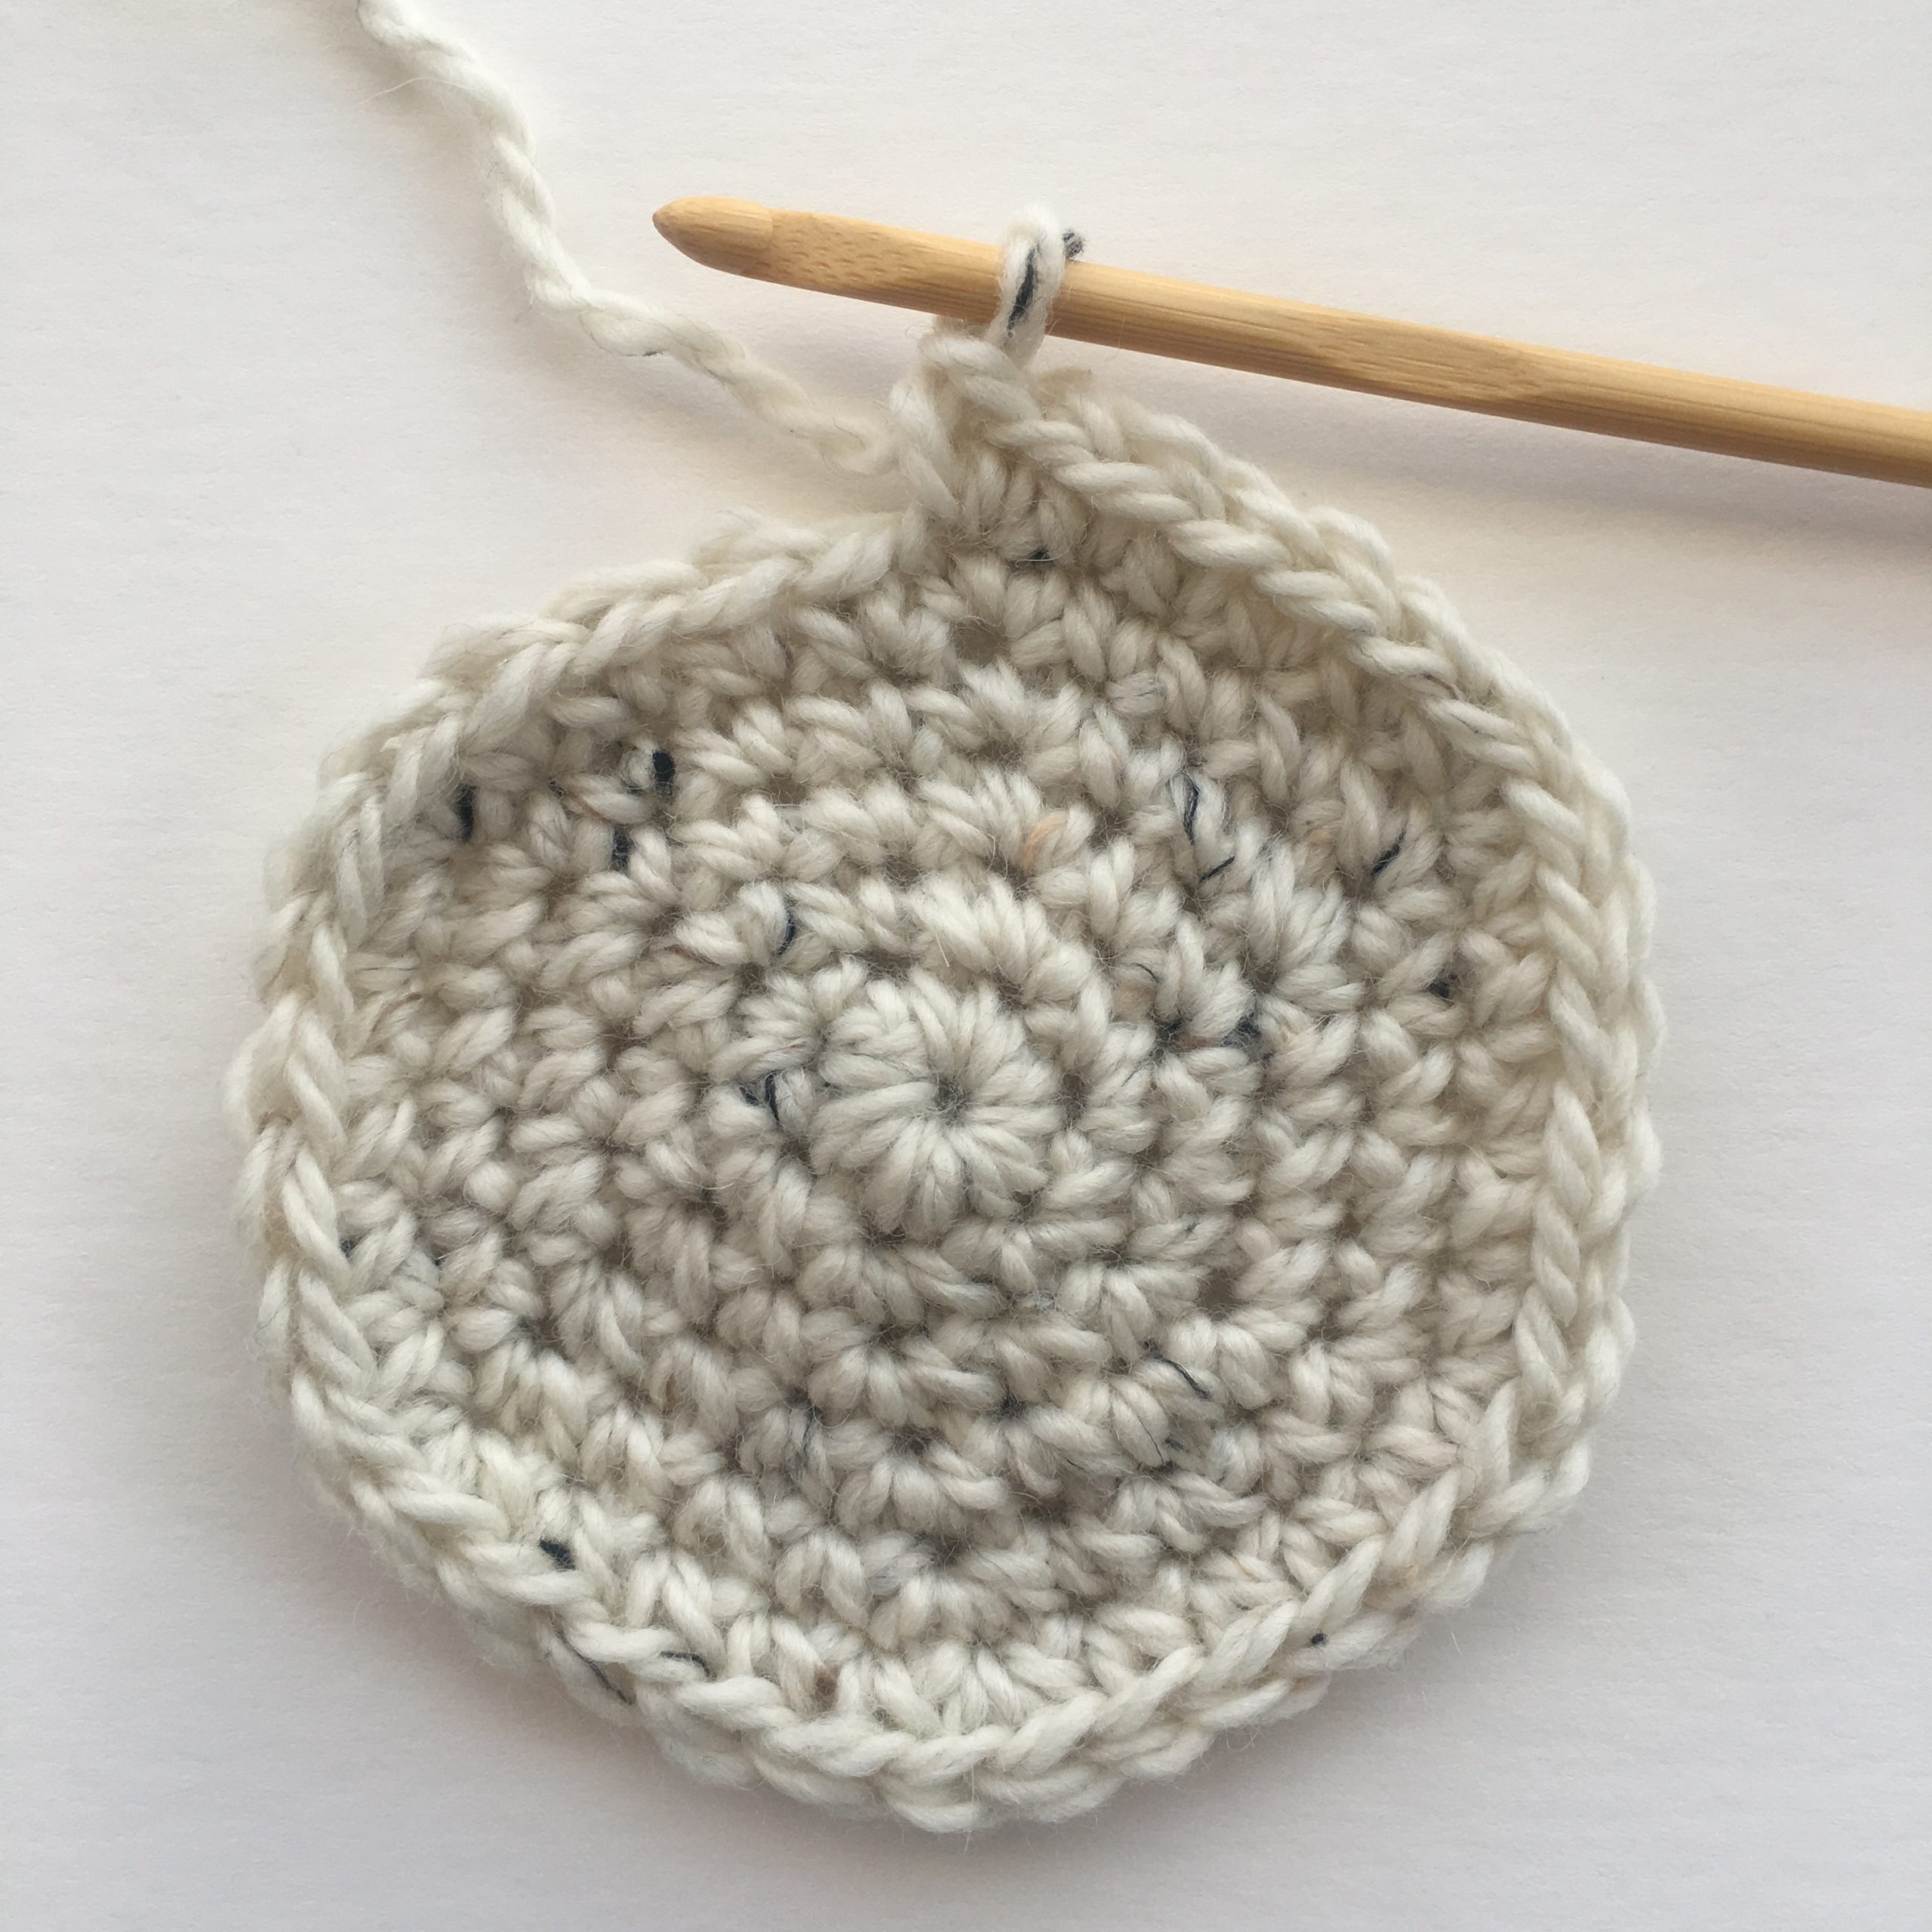
Establishing The Base Of The Hat
After creating the magic circle, it’s time to establish the base of your hat. This initial round will set the stage for the rest of your project, so it’s important to ensure that it is the correct size and shape. To establish the base of your hat, follow these steps:
- Work a set number of stitches into the magic circle, as determined by your pattern or personal preference.
- Join the last stitch to the first stitch with a slip stitch to form a complete circle.
- Continue working in the round, building upon this foundation to create the desired height of your hat.
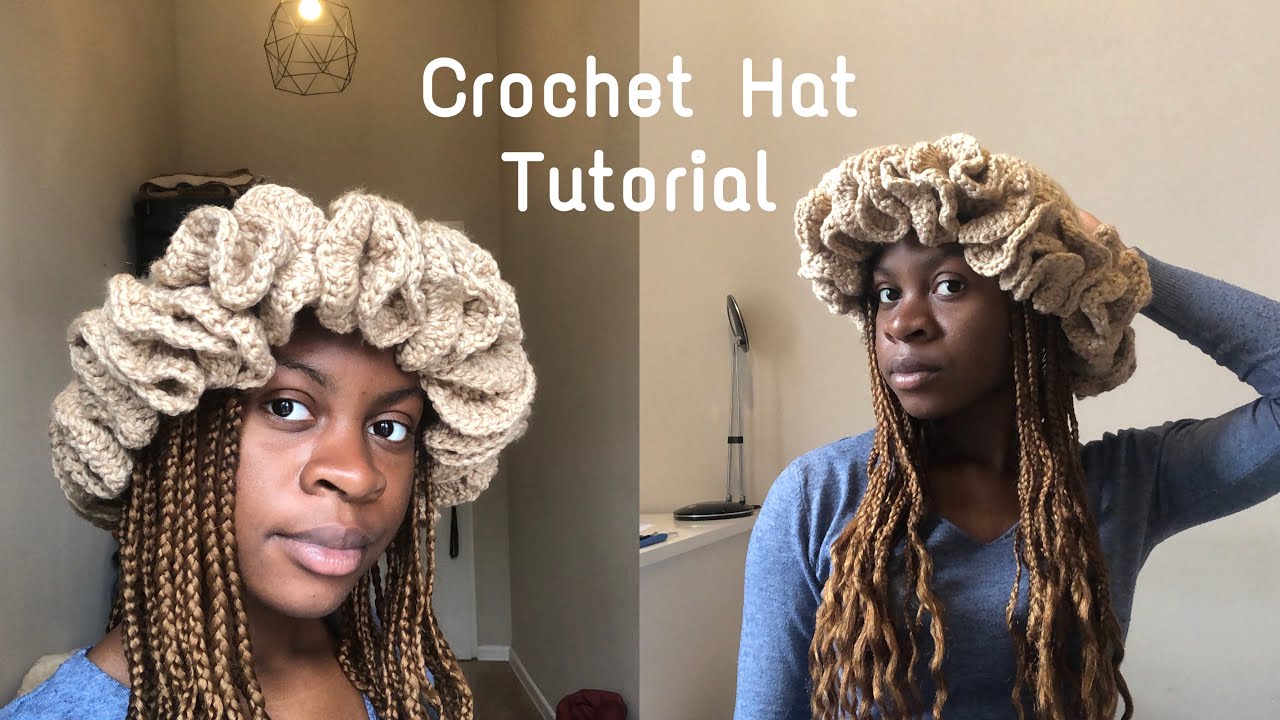
Credit: www.youtube.com
Shaping The Hat
Once you have completed the initial rounds of your crochet hat, it is time to shape it to fit your head perfectly. This is an important step to ensure that your hat looks and feels just right. In this section, we will cover two key techniques: working in rounds and increasing and decreasing stitches.
Working In Rounds
To shape your hat, you will continue working in rounds without turning your work. This creates a seamless and smooth finish. Simply follow the pattern instructions for each round, making sure to mark the beginning of each round with a stitch marker. This will help you keep track of your progress and ensure that your hat remains symmetrical.
Increasing And Decreasing Stitches
Increasing and decreasing stitches are essential techniques for shaping your hat. To increase stitches, you will add extra stitches in a single round. This is often done by working two or more stitches into the same stitch from the previous round. Increasing stitches allows your hat to widen gradually and accommodate the shape of your head.
On the other hand, decreasing stitches helps shape the crown of your hat. By decreasing stitches, you create a tapered effect. This is typically achieved by working two stitches together to combine them into one stitch. Repeat the decrease stitches as instructed in the pattern until you reach the desired crown size.
Remember to always refer to your specific crochet pattern for the exact instructions on increasing and decreasing stitches. Each pattern may have its own unique approach to shaping the hat.
By mastering the techniques of working in rounds, increasing, and decreasing stitches, you will be able to shape your crochet hat with precision. Take your time, follow the pattern, and enjoy the process of creating a hat that fits you perfectly.
Finishing Touches
When it comes to crocheting a hat, the finishing touches are crucial. This is where you can add unique details to make your hat stand out.
Adding A Brim
Create a brim using a contrasting color or stitch pattern to give your hat a stylish edge.
Decorative Elements And Personalization
Personalize your hat by adding bold initials or a fun pom-pom. Consider adding buttons or bows for a touch of whimsy.
Care And Maintenance
Proper care and maintenance are essential to keep your crocheted hat looking its best. Hand wash gently in lukewarm water, reshape, and lay flat to dry to preserve the shape and integrity of the hat. Avoid machine washing or drying to prevent damage.
Care and Maintenance
Washing And Blocking Your Hat
Use mild detergent and lukewarm water.
Gently squeeze excess water, reshape, and lay flat to dry.
Storing Your Crochet Creations
- Keep hats in a cool, dry place away from direct sunlight.
- Avoid storing hats in plastic bags to prevent mold.
Troubleshooting Common Issues
When crocheting a hat, you may encounter common issues that can be easily resolved. Here are some tips to troubleshoot and fix these problems:
Fixing Dropped Stitches
- Locate the dropped stitch.
- Use a crochet hook to pick up the dropped stitch.
- Insert the hook into the loop below the dropped stitch.
- Bring the loop up and place it back on the needle.
- Tighten the stitch to secure it in place.
Adjusting Hat Size
- If the hat is too small, unravel the last few rows and add more stitches.
- If the hat is too large, decrease the number of stitches in each row.
- Measure your head circumference to ensure the correct hat size.
- Experiment with different hook sizes to achieve the desired fit.
Expanding Your Skills
Learn how to expand your skills by crocheting a hat. With just a few basic stitches and some practice, you can create a cozy accessory for yourself or your loved ones. Follow step-by-step tutorials online or join a class to master this fun and rewarding craft.
Advanced Stitches And Techniques
Crocheting a hat opens the door to expanding your skills with advanced stitches and techniques.
Try incorporating intricate stitches like the popcorn stitch or the cable stitch.
Experiment with different yarn textures and colors for a unique touch.
Exploring More Complex Patterns
Challenge yourself by exploring more complex patterns such as cables or lace designs.
Combine various crochet techniques to create visually stunning hats.
Don’t be afraid to customize patterns to suit your style and skill level.
Community And Inspiration
When it comes to crocheting, being part of a community and finding inspiration is crucial. Connecting with fellow crochet enthusiasts not only allows you to learn and grow but also provides a sense of belonging. Additionally, seeking inspiration for your next project can ignite your creativity and help you create unique and beautiful crochet hats.
Joining Crochet Groups And Forums
If you’re looking to connect with like-minded individuals who share your passion for crochet, joining crochet groups and forums is a fantastic idea. These communities provide a platform for you to interact, seek advice, and share your own experiences. Whether you’re a beginner or an experienced crocheter, you’ll find valuable insights, tips, and tricks from fellow members. Not only will you gain new knowledge, but you’ll also forge friendships with people who understand your love for crochet.
Finding Inspiration For Your Next Project
When it’s time to start a new crochet hat project, finding inspiration can be as simple as browsing through various sources. The internet is a treasure trove of inspiration, with countless websites, blogs, and social media platforms dedicated to crochet. You can explore online communities, follow crochet influencers, and join crochet-related groups on social media. Additionally, flipping through crochet pattern books or attending craft fairs and exhibitions can spark your creativity. Remember, inspiration can be found everywhere, so keep your eyes open for unique color combinations, textures, or even nature’s beauty.
By immersing yourself in the crochet community and seeking inspiration, you’ll continually fuel your passion for crochet and create stunning hats that reflect your unique style.
Credit: www.mamainastitch.com
Frequently Asked Questions
How Do I Start Crocheting A Hat?
To start crocheting a hat, begin by choosing the yarn and hook size. Then, create a foundation chain and join it into a ring. After that, work in rounds to build the height of the hat.
What Are The Best Yarns For Crocheting Hats?
The best yarns for crocheting hats are those that are soft, durable, and easy to care for. Look for yarns labeled as medium or worsted weight, as they are ideal for creating warm and cozy hats.
Can I Crochet A Hat If I’m A Beginner?
Yes, you can definitely crochet a hat as a beginner. Start with simple patterns and practice basic stitches like single crochet and double crochet. There are many beginner-friendly hat patterns available that will help you build your skills.
Conclusion
Incorporating different crochet stitches can add texture and style to your handmade hats. Whether you’re a beginner or an experienced crocheter, the step-by-step guide provided in this blog post can help you create beautiful hats. With the right yarn and hook size, you can customize your hat to suit your personal style.
Experimenting with various colors and embellishments can make each hat unique. Crocheting hats is a rewarding and enjoyable craft that allows for creativity and self-expression.