
How to Frame a Puzzle: A Step-by-Step DIY Guide
To frame a puzzle, start by selecting a puzzle frame that matches the size and style of your puzzle. Then, carefully slide the completed puzzle into the frame and secure it using the provided clips or adhesive.
When framing a puzzle, it’s essential to choose the right frame that complements the puzzle’s size and design. Once you’ve found the perfect frame, gently insert the puzzle into it, ensuring that all the pieces are aligned and in place.
Use the clips or adhesive provided with the frame to secure the puzzle in its position. Framing a puzzle not only preserves your hard work but also allows you to display it as a beautiful piece of art. Follow these steps to frame your puzzle and showcase your accomplishment for all to admire.
Introduction To Puzzle Framing
Learning how to frame a puzzle can turn your completed masterpiece into a stunning piece of art. Let’s explore the process step by step.
Benefits Of Framing A Puzzle
- Preserves your hard work.
- Decorates your space with a personal touch.
- Protects the puzzle from damage.
Choosing The Right Puzzle To Frame
Ensure the puzzle design and size complement your decor. Opt for high-quality puzzles with vibrant colors and sturdy pieces.
Gathering Your Materials
Prepare to frame your puzzle by gathering essential materials like a puzzle frame, puzzle glue, foam board, and a craft knife. These items will ensure a smooth and successful framing process for your completed puzzle masterpiece.
Essential Supplies Needed
Before framing a puzzle, it’s important to have all the necessary supplies. Here are the essential items you will need:
- Frame
- Glass
- Backing board
- Puzzle glue or adhesive sheets
- Scissors or cutting tool
- Tape measure or ruler
- Clean cloth
Selecting The Best Frame And Glass
When selecting a frame for your puzzle, consider the size of the puzzle and the style of the room where it will be displayed. The frame should complement the puzzle without overpowering it. Additionally, the glass should be UV protective to prevent fading and damage from sunlight.
Once you have gathered all the necessary materials and selected the perfect frame and glass, you are ready to start framing your puzzle.
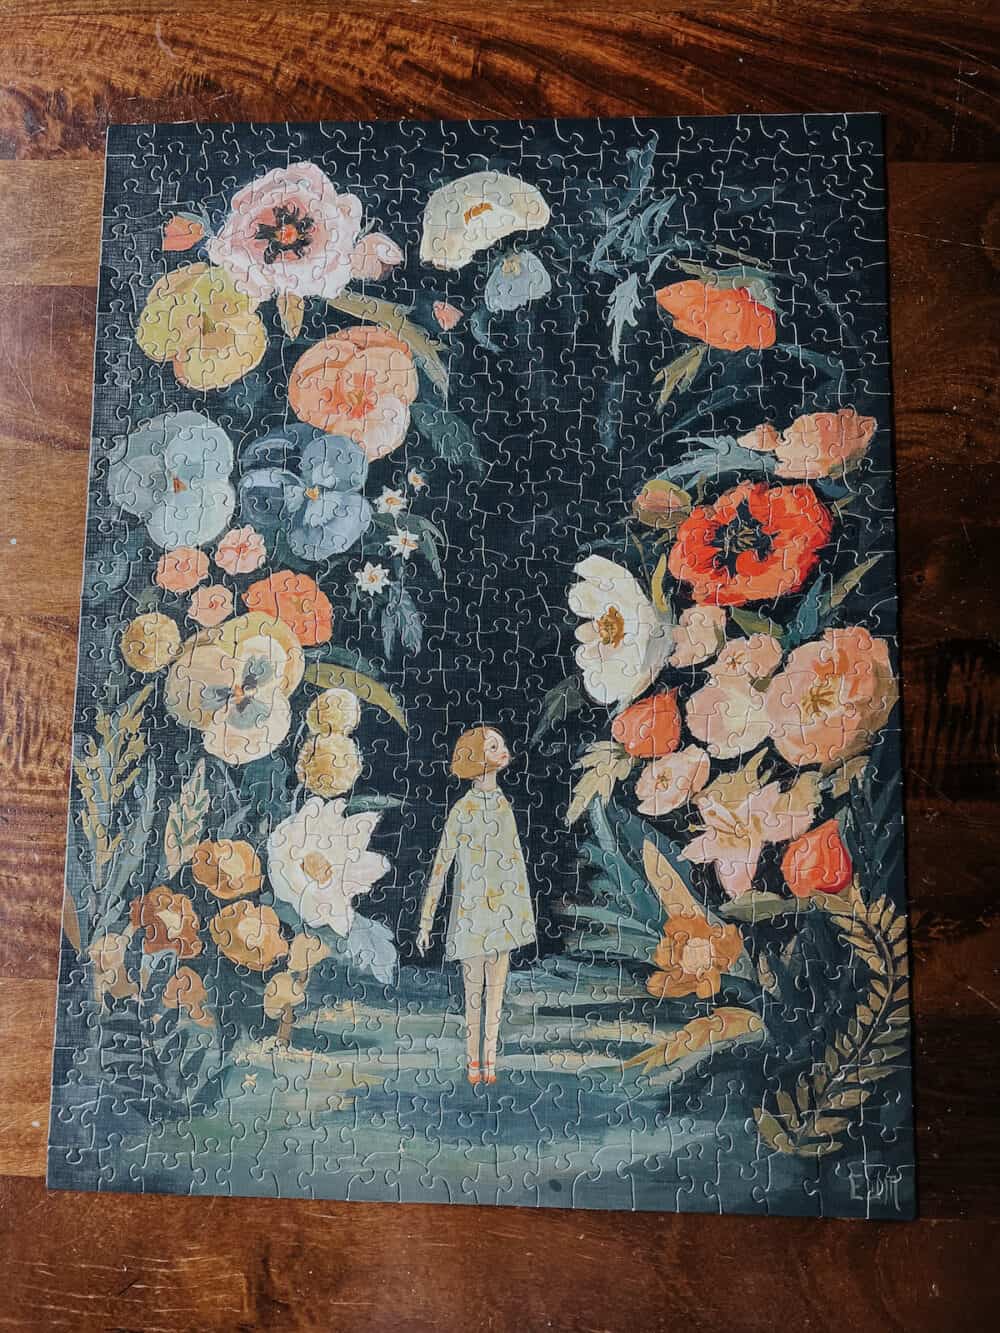
Preparing The Puzzle
Before you begin framing your puzzle, it’s important to prepare the puzzle pieces and ensure they are secured together. This will help you create a beautiful and long-lasting display for your completed puzzle. In this section, we will provide you with some helpful tips to complete your puzzle and guide you through the process of securing the puzzle pieces together.
Puzzle Completion Tips
Completing a puzzle can be a fun and challenging task. Here are some tips to help you successfully complete your puzzle:
- Start by sorting the puzzle pieces into different groups based on their color or pattern. This will make it easier to locate and assemble the pieces.
- Work on the puzzle in a well-lit and comfortable area to avoid eye strain and discomfort.
- Begin by assembling the edges of the puzzle first. This will provide you with a clear framework to work within.
- Look for distinctive features or patterns within the puzzle image to help you identify and connect the corresponding pieces.
- Take breaks if needed to prevent fatigue and maintain your focus. Puzzles are meant to be enjoyable, so don’t rush the process.
Securing The Puzzle Pieces Together
Once you have completed your puzzle, it’s time to secure the pieces together to create a framed display. Here’s how you can do it:
- Carefully slide a large piece of wax paper or parchment paper underneath the completed puzzle to protect your work surface.
- Apply a thin layer of puzzle glue or adhesive over the entire surface of the puzzle. Use a brush or sponge to spread the glue evenly.
- Allow the glue to dry completely as per the manufacturer’s instructions. This will typically take a few hours.
- Once the glue is dry, flip the puzzle over and repeat the gluing process on the backside to ensure all the pieces are securely held together.
- After the glue has dried on both sides, carefully trim any excess wax paper or parchment paper from around the edges of the puzzle.
- Your puzzle is now ready to be framed and displayed. You can choose to use a standard picture frame or opt for a specialized puzzle frame.
Following these puzzle completion and securing tips will help you create a stunning framed display that will preserve your hard work and provide an eye-catching addition to your home decor. Enjoy the satisfaction of completing a puzzle and showcase your achievement with pride!
Mounting The Puzzle
Discover the art of framing puzzles effortlessly with our step-by-step guide. From selecting the right frame to preserving the puzzle’s integrity, we provide expert tips to help you mount your puzzle with precision and style. Say goodbye to puzzle pieces scattered on the table and hello to a beautiful framed masterpiece.
Once you’ve completed a puzzle, you may want to frame it to showcase your hard work. Mounting a puzzle can be a fun and rewarding task, but it requires some patience and attention to detail. In this section, we’ll discuss the steps you need to take to mount your puzzle and display it proudly.
Choosing The Mounting Surface
The first step in mounting a puzzle is to choose a mounting surface. You can use a variety of surfaces, including foam board, cardboard, or even a wooden board. The important thing is to choose a surface that is sturdy and can support the weight of the puzzle. You’ll also want to make sure the surface is large enough to accommodate the entire puzzle.
Gluing The Puzzle To The Backing
Once you’ve chosen your mounting surface, it’s time to glue the puzzle to the backing. Before you start, make sure the puzzle is completely flat and free of any dust or debris. You can use puzzle glue or regular white glue to attach the puzzle to the backing. Spread the glue evenly over the surface of the backing, then carefully place the puzzle on top. Use a rolling pin or a similar tool to press the puzzle down firmly, making sure all the pieces are flat against the backing.
Important Tips:
- Make sure the glue is evenly distributed and there are no air bubbles trapped between the puzzle and the backing.
- Allow the glue to dry completely before moving the puzzle or framing it.
- If the puzzle is too large to fit on one piece of backing, you can use multiple pieces and then join them together with tape or glue.
By following these steps, you can mount your puzzle and turn it into a work of art that you can display in your home or office. With a little patience and attention to detail, you can create a beautiful and unique piece that showcases your love of puzzles.
Framing Techniques
When it comes to framing a puzzle, it’s essential to employ the right techniques to preserve and showcase your hard work. Framing a puzzle not only protects it from damage but also allows you to display it as a piece of art. In this section, we will explore the framing techniques for puzzles, including assembling the frame and attaching the mounted puzzle.
Assembling The Frame
Assembling the frame for your puzzle involves selecting the appropriate frame size and style. Measure your completed puzzle to determine the exact dimensions for the frame. Carefully select a frame that complements the colors and theme of your puzzle. Once you have the frame, use a backloader frame or a custom frame to ensure a snug fit for your puzzle.
Attaching The Mounted Puzzle
Attaching the mounted puzzle into the frame is a crucial step in the framing process. Begin by applying puzzle glue or adhesive to the back of the puzzle to secure the pieces together. Gently mount the puzzle onto a foam board or cardboard backing to provide support. Then, carefully place the mounted puzzle into the frame and secure it tightly using framing points or brads.
Credit: www.loveandrenovations.com
Adding The Finishing Touches
Once you have successfully framed your puzzle, it’s time to add the finishing touches. This final step involves sealing the back of the frame and installing hanging hardware. Follow these simple steps to complete your puzzle framing project.
Sealing The Back Of The Frame
To protect your puzzle and keep it securely in place, sealing the back of the frame is essential. Here’s how you can do it:
- Carefully remove the puzzle from the frame and flip it over.
- Apply a thin layer of puzzle glue or adhesive to the back of the puzzle, making sure to cover the entire surface.
- Allow the glue to dry completely. This will help to hold the puzzle pieces together and prevent any shifting or movement.
- Once the glue is dry, trim any excess puzzle backing using a craft knife or scissors.
- Place the puzzle back into the frame, ensuring it fits snugly.
Installing Hanging Hardware
Now that your puzzle is securely framed, it’s time to install hanging hardware so that you can display it on your wall. Follow these steps:
- Decide where you want to hang your puzzle and mark the desired location on the wall.
- Measure the distance between the top of the frame and the hanging hardware.
- Use a level to ensure the hardware is straight and aligned with the marked location on the wall.
- Secure the hanging hardware to the wall using screws or nails, making sure it is firmly in place.
- Gently hang the framed puzzle on the installed hardware, ensuring it is level and secure.
By following these steps, you can add the finishing touches to your framed puzzle. Sealing the back of the frame will protect your puzzle, while installing hanging hardware will allow you to proudly display your completed masterpiece. Now, sit back and admire your beautifully framed puzzle!
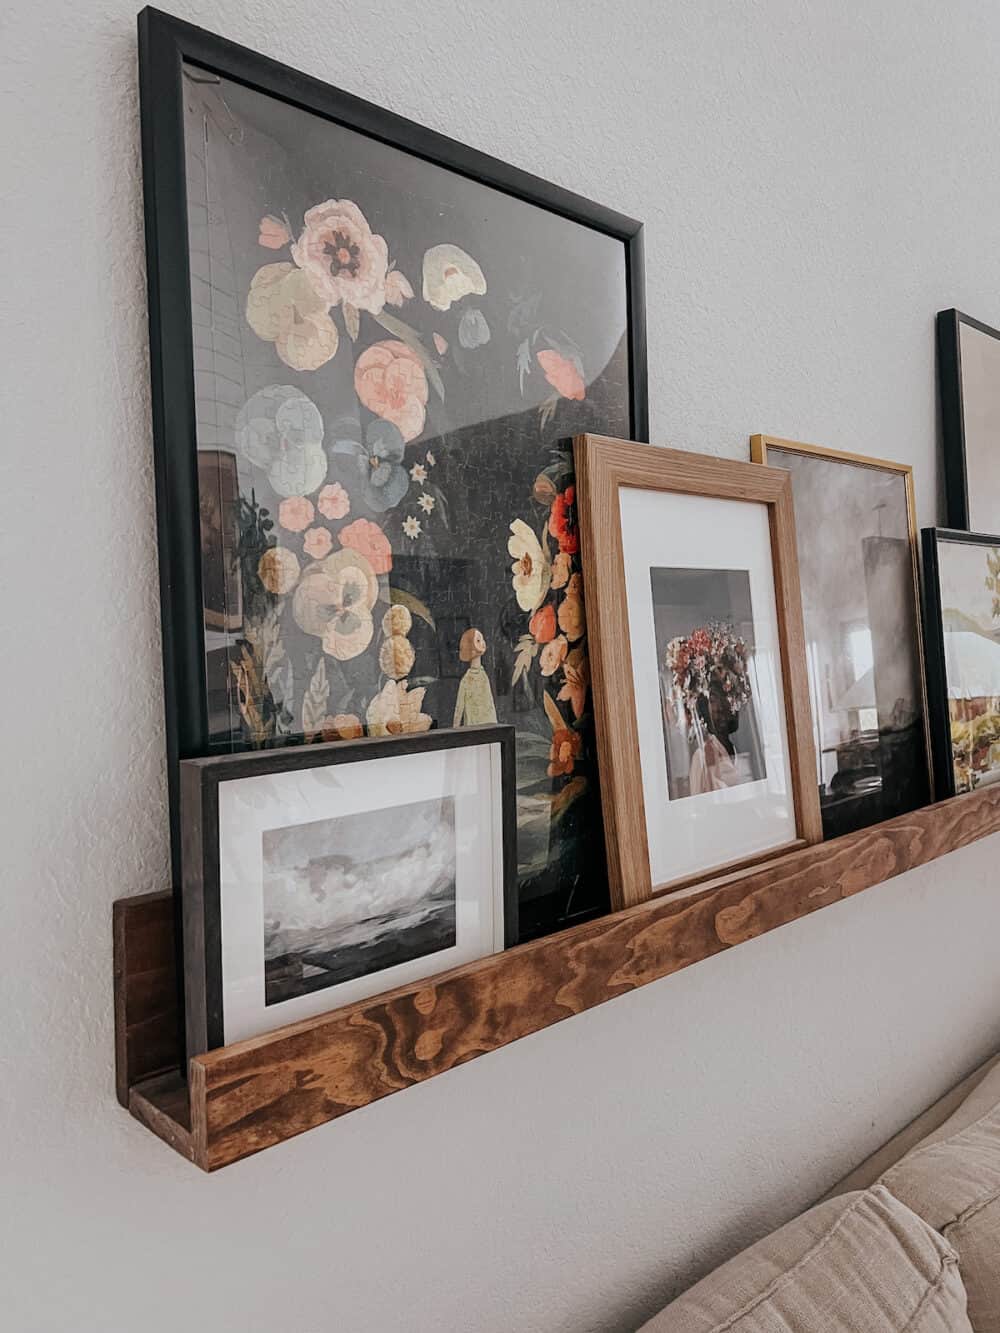
Displaying Your Framed Puzzle
Once you’ve successfully framed your puzzle, it’s time to display it in your home. Find a prominent spot with good lighting, and consider using a simple, elegant frame that complements the puzzle’s design. Hang it securely and enjoy your unique piece of wall art.
Choosing The Perfect Spot
Place puzzle away from direct sunlight.
Tips For Avoiding Sun Damage
Consider using UV-protective glass.
Maintenance And Care
Framing a puzzle not only showcases your hard work but also preserves it for years to come. Proper maintenance and care are essential to ensure your framed puzzle remains in top condition. Let’s explore some key tips on how to maintain and care for your framed puzzle.
Cleaning The Glass
Regularly clean the glass covering your framed puzzle using a soft, lint-free cloth.
Avoid using harsh chemicals that may damage the glass or puzzle underneath.
Wipe gently in a circular motion to remove dust and fingerprints without scratching the glass.
Preserving The Puzzle Colors
Display your framed puzzle away from direct sunlight to prevent colors from fading.
Consider using UV-protective glass to safeguard the puzzle from harmful sun exposure.
Rotate your framed puzzles periodically to ensure even exposure and color preservation.
Alternative Framing Ideas
Enhance the presentation of your completed puzzle with creative framing options. Explore unique ways to showcase your masterpiece beyond traditional framing.
Using A Magnetic Frame
Easily display your finished puzzle by using a magnetic frame, eliminating the need for glue or adhesives.
Creating A Puzzle Collage Wall
Transform your puzzles into a stunning collage wall display, showcasing your collection in a visually appealing way.
Credit: www.loveandrenovations.com

Credit: www.levelframes.com
Frequently Asked Questions
How Do I Frame A Puzzle Without Glue?
You can frame a puzzle without glue by using a puzzle frame or a picture frame with a backing board to hold the puzzle in place. Simply place the puzzle on the backing board and secure it with the frame’s glass.
This method allows you to change the puzzle later if desired.
What Is The Best Way To Mount A Puzzle For Framing?
The best way to mount a puzzle for framing is by using puzzle conserver or adhesive sheets. Apply the conserver or adhesive sheet to the front and back of the completed puzzle to hold it together. Once dried, you can then place the puzzle in a frame for display.
Can I Frame A Puzzle Without A Frame?
Yes, you can frame a puzzle without a traditional frame by using a foam board or mounting board. Simply attach the completed puzzle to the board using puzzle glue or adhesive sheets, and then you can hang the mounted puzzle on the wall as a unique piece of artwork.
What Are Some Creative Ways To Display A Framed Puzzle?
Some creative ways to display a framed puzzle include using a shadow box, creating a gallery wall with multiple framed puzzles, or incorporating the framed puzzle into a tabletop or shelf display. You can also consider using a floating frame to give the puzzle a modern and stylish look.
Conclusion
In crafting a puzzle frame, attention to detail is crucial. By following the steps outlined, you can showcase your completed puzzle as a stunning piece of art. The right materials and techniques are essential for a professional finish. Enhance your decor and preserve your hard work with a carefully constructed puzzle frame.